First Aid Wound Cleaning: 3 Essential Tips
Taking care of minor wounds doesn’t have to be scary or complicated. In fact, with a few simple steps, you can be a wound-cleaning expert in no time.
This blog will help you understand when to clean wounds, the supplies needed, and all the steps for proper cleaning. Keep reading!
When to Clean a Wound
Knowing when to clean a wound is crucial for proper first aid. While cleaning helps prevent infection, it’s not always necessary, and in some cases, excessive cleaning can actually hinder healing.
- Minor Cuts and Scrapes: These are classic playground wounds, such as scraped knees, small nicks from knives, or simple cuts. As long as they’re not gaping or excessively dirty, cleaning them yourself is perfectly fine.
- Minor Animal Scratches: Scratches from domesticated animals like cats or dogs can usually be cleaned at home. However, keep a close eye on them for signs of infection, and seek medical attention if the scratch becomes red or swollen.
- Blisters: Although you shouldn’t pop a blister, you can clean the surrounding area with mild soap and water to prevent infection if the blister breaks on its own.
Seek medical attention for deep wounds, puncture wounds, gaping wounds, excessive bleeding, and burns.
What You’ll Need
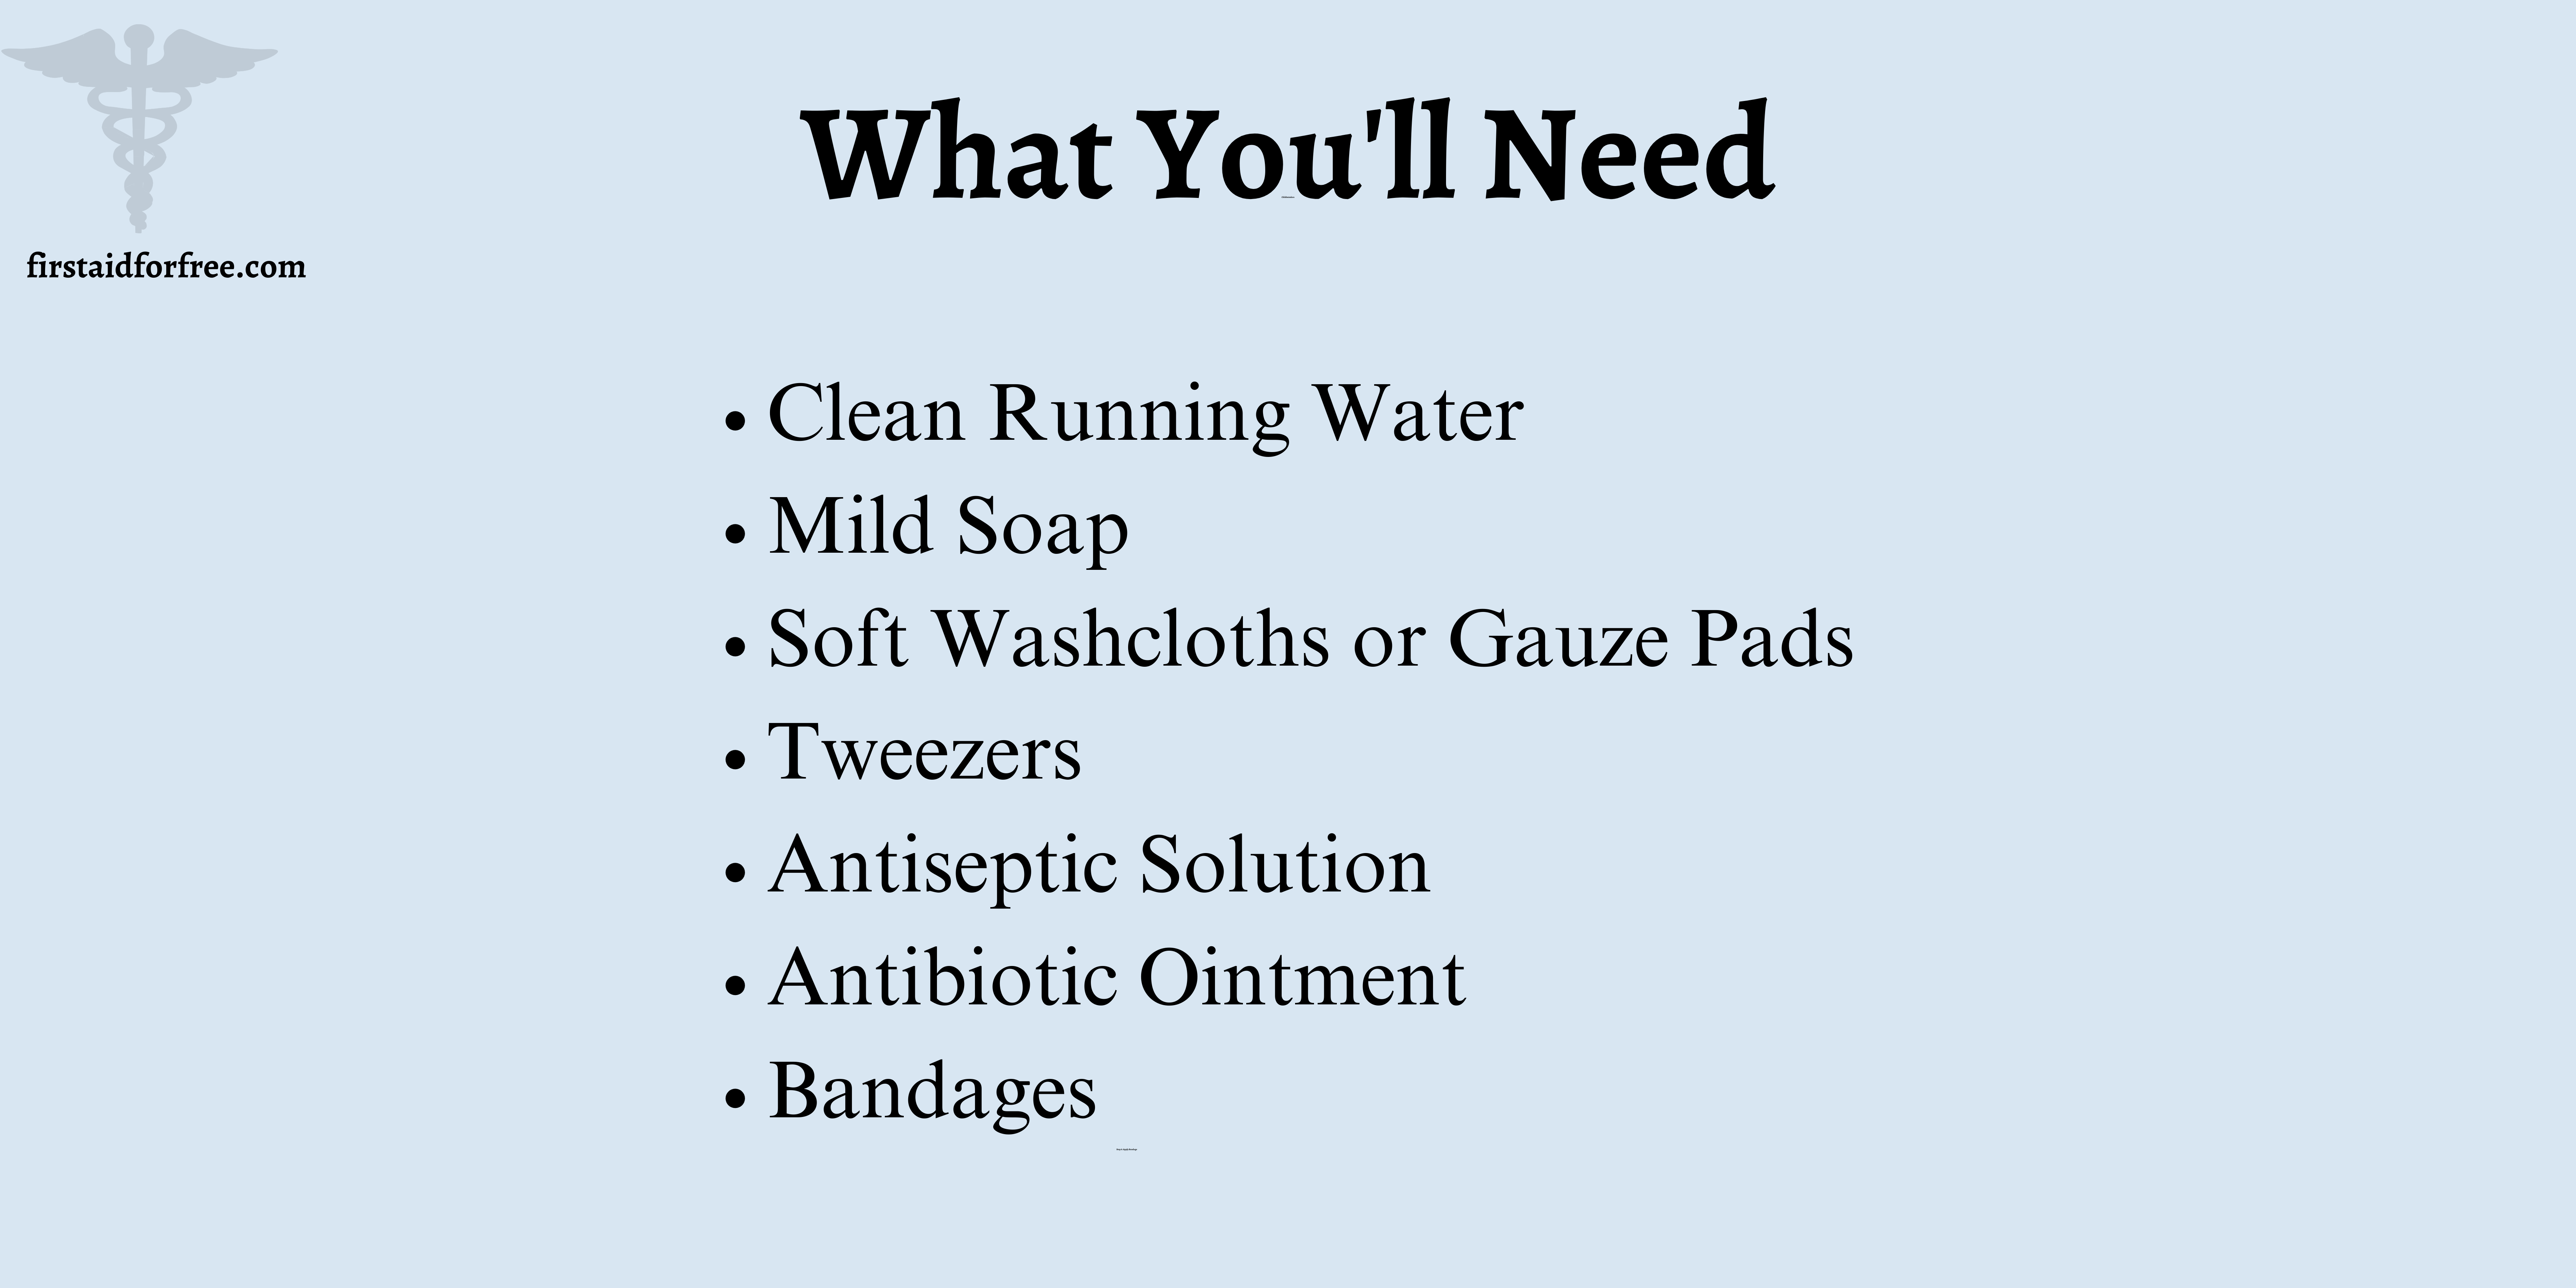
Being prepared for minor wounds is essential. Let’s know the essential supplies you’ll need for effective wound cleaning at home:
- Clean Running Water is your primary weapon against debris and bacteria. Aim for lukewarm water—not too hot, which can cause discomfort, and not too cold, which can be numbing.
- Mild Soap: Gentle soap is ideal. Avoid harsh antibacterial soaps, which can irritate the wound. Opt for fragrance-free soap if possible, especially for sensitive skin.
- Soft Washcloths or Gauze Pads: These are used to clean the wound and surrounding area. Use a clean, unused washcloth or sterile gauze pad to prevent bacteria.
- Tweezers: Tweezers are useful for removing splinters, thorns, or other small debris stuck in the wound. However, ensure they’re sterilized with rubbing alcohol before use. Never dig or pry at embedded objects; leave that to a healthcare professional.
- Antiseptic Solution: Antiseptic solutions can be used to disinfect the wound after cleaning. However, keep in mind these can sting and irritate the wound, especially on sensitive skin.
- Antibiotic Ointment: Antibiotic ointments can help prevent infection in minor wounds. However, overuse of antibiotics can contribute to antibiotic resistance. Use them only on clean wounds.
- Bandages: Having a variety of bandages in different sizes and types allows you to dress the wound appropriately.
Non-stick pads, gauze pads, adhesive bandages, and elastic wraps are some of the major types that should be kept in handy for use when needed.
Step-by-Step Guide to Wound Cleaning
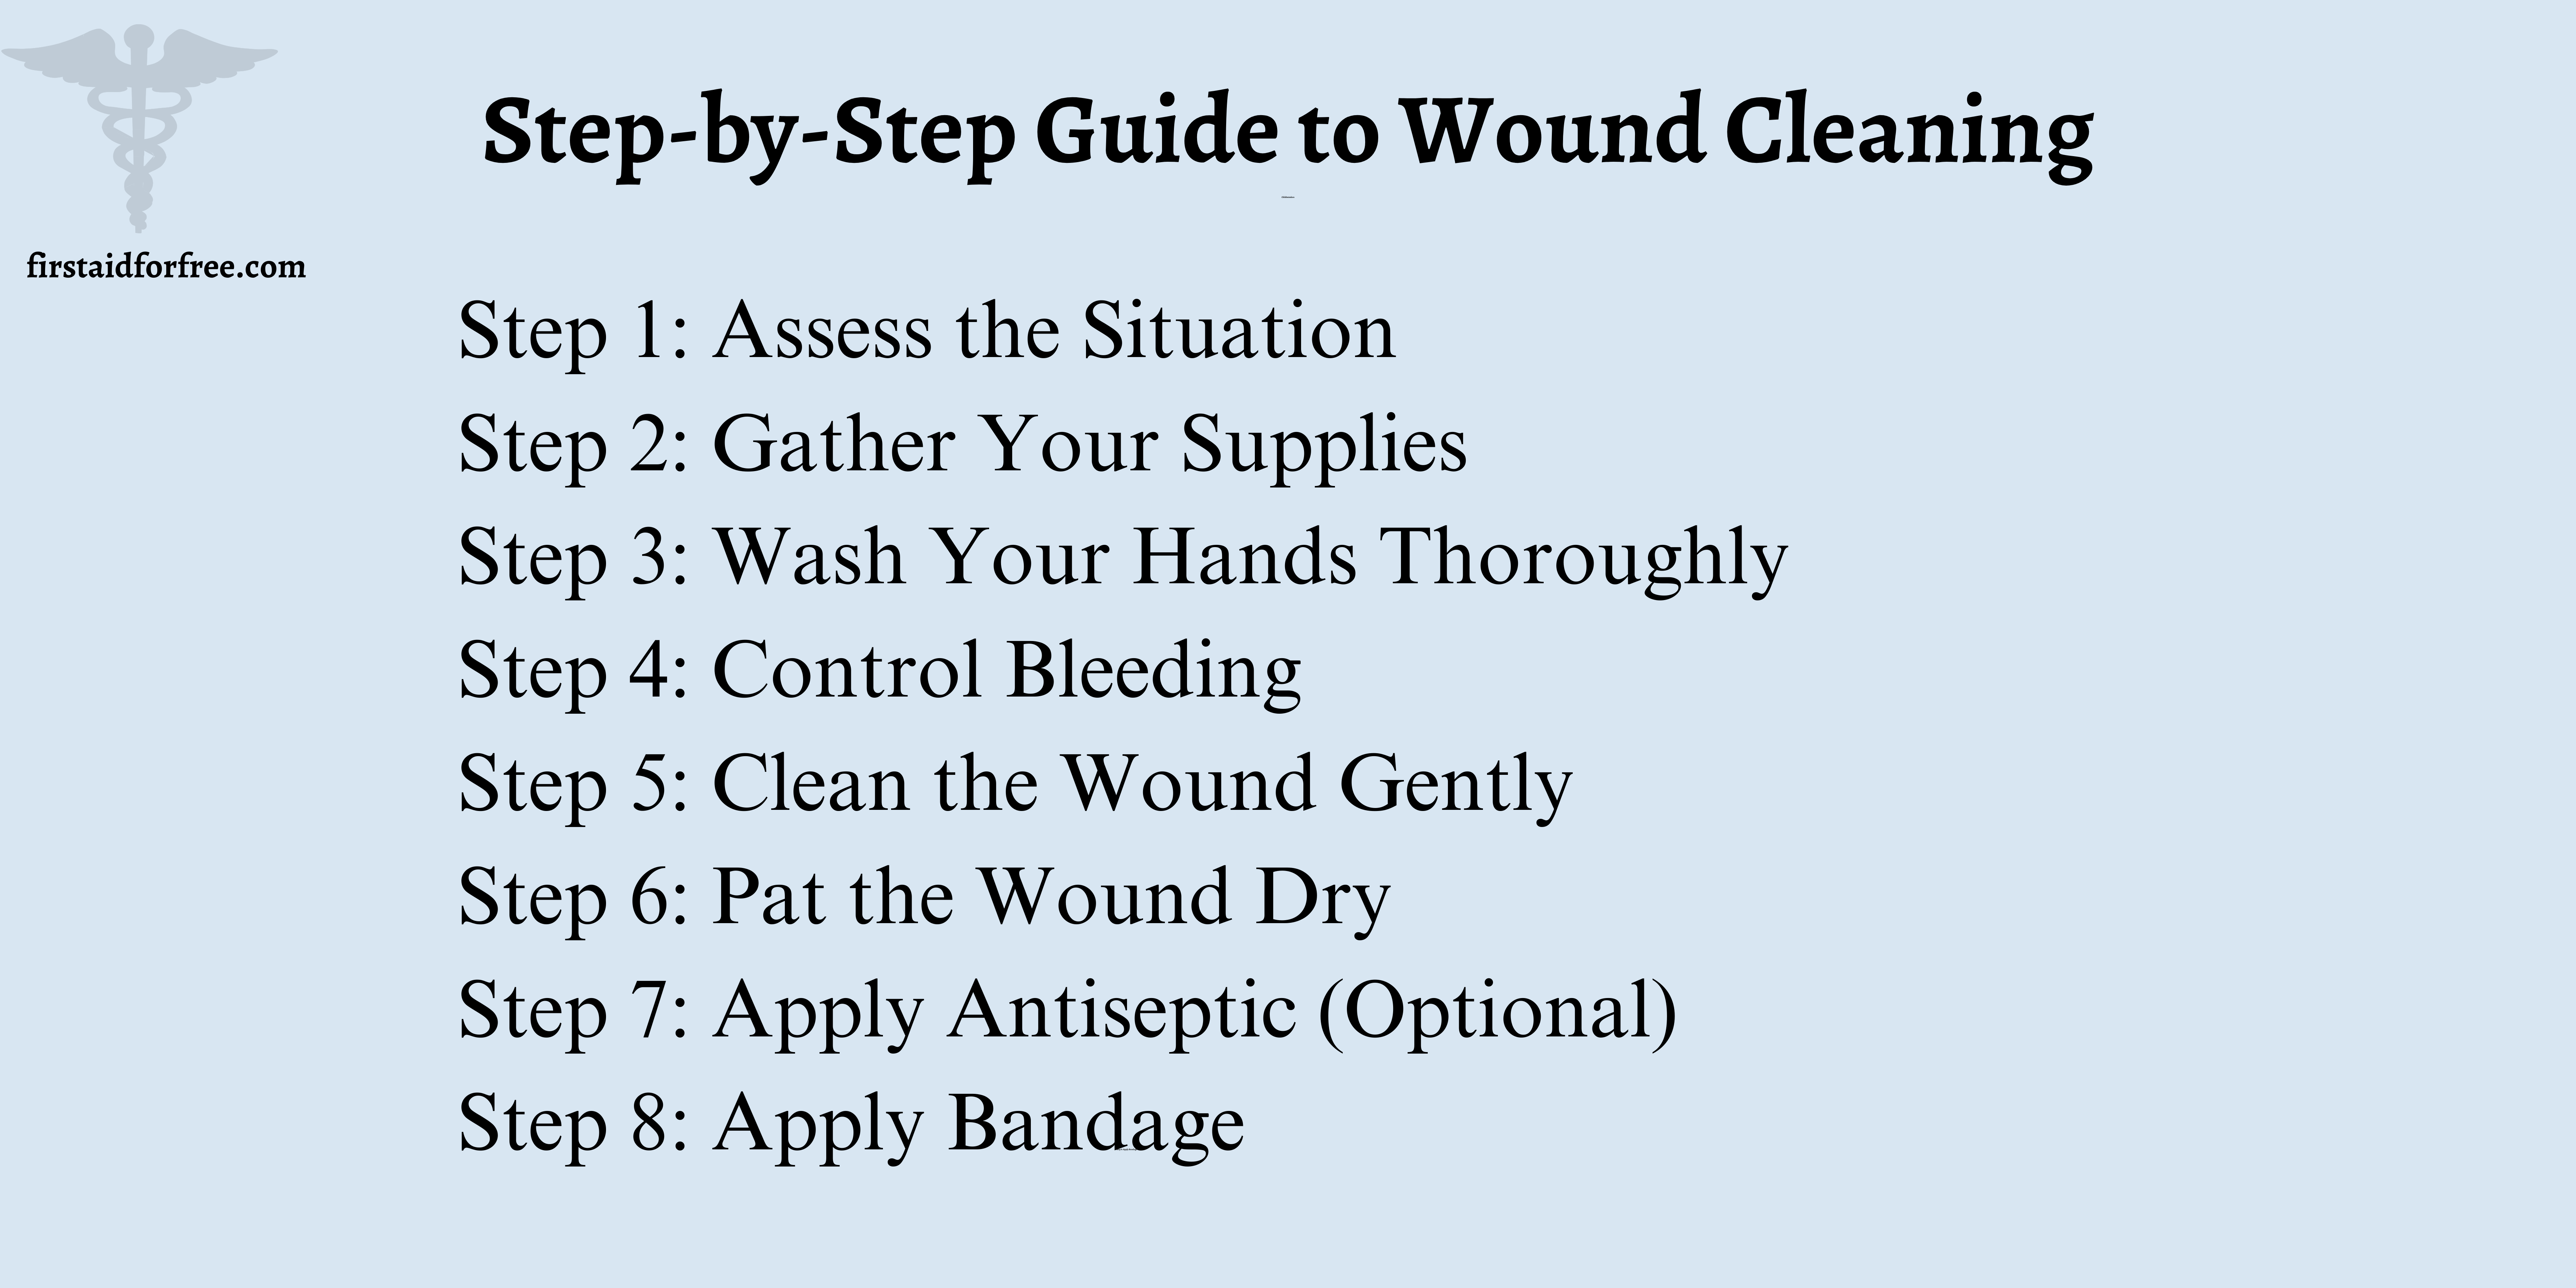
Wounds, from minor scrapes to more serious injuries, are a normal part of life. Proper cleaning is crucial to prevent infection and promote optimal healing. This guide will walk you through the basic steps of wound cleaning.
Step 1: Assess the Situation
Before diving into cleaning, take a moment to assess the situation. Minor cuts, scrapes, and wounds with minimal bleeding can generally be cleaned at home.
However, if you’re unsure about the severity, the wound is located in a sensitive area, or you see signs of excessive bleeding or debris, seek medical attention immediately.
Step 2: Gather Your Supplies
Having the right tools ensures a smooth and effective cleaning process.
First, wash the wound with clean running water to remove bacteria and debris. Then, use gentle soap to clean the wound and surrounding area.
Keep soft washcloths or gauze pads handy, as they are useful for cleaning the wound without further irritation. Other supplies include antiseptic solution, antibiotic ointment, cotton, and bandages, depending on the wound and your preference.
Step 3: Wash Your Hands Thoroughly
This is the MOST crucial step! Bacteria on your hands can easily transfer to the wound and cause infection. Wash your hands with soap and warm water for at least 20 seconds, ensuring you scrub between your fingers, under your nails, and the backs of your hands.
Step 4: Control Bleeding
For minor bleeding, apply gentle pressure to the wound with a clean cloth. Avoid excessive pressure. If bleeding persists for more than a few minutes, seek medical attention.
Step 5: Clean the Wound Gently
- Hold the wound under clean, running water for several minutes. This will dislodge dirt, debris, and loose blood clots.
- If large pieces of debris are visible and easily removable with sterilized tweezers, carefully remove them.
- Use mild soap and a clean washcloth or gauze pad to gently clean the wound and surrounding area. Avoid scrubbing, which can irritate the wound.
Step 6: Pat the Wound Dry
Use a clean cloth to gently pat the wound dry. Avoid rubbing, as this can irritate the wound and disrupt healing.
Step 7: Apply Antiseptic (Optional)
As mentioned earlier, antiseptic solutions are optional. While they can provide additional disinfection, they’re not always necessary for minor wounds and can irritate the skin. If unsure, discuss the pros and cons with a healthcare professional.
Step 8: Apply Bandage
Choose a bandage appropriate for the wound size and location. Cover the wound with a non-stick sterile pad and secure it with gauze or tape. The bandage should be tight but not constricting.
3 Essential Tips
While the core steps of wound cleaning are crucial, here are some additional tips to optimize wound care and promote faster healing:
I. Minimizing Pain: Minor wounds can be uncomfortable, especially during cleaning. Here are some ways to manage pain:
- Gentle Touch: Be gentle throughout the cleaning process. Avoid scrubbing or applying excessive pressure to the wound.
- Cool Water: Using cool water provides a numbing effect and reduces discomfort.
- Over-the-counter Pain Relievers: Over-the-counter pain relievers can be helpful for moderate pain. However, always consult a doctor or pharmacist for appropriate dosage.
II. Tetanus Shot: Tetanus is a serious bacterial infection that affects the nervous system. It can enter the body through wounds, even minor ones. Make sure your tetanus shot is up to date. If you haven’t had a tetanus shot in more than 10 years, it’s recommended to get a booster shot.
III. Puncture Wounds: Puncture wounds, like those from nails, splinters, or animal bites, require extra care due to the high risk of infection. Follow the cleaning guide, paying special attention to flushing the wound with clean water to dislodge any debris.
It’s highly recommended to see a doctor for puncture wounds. They can clean the wound more thoroughly, assess the risk of infection, and prescribe antibiotics if necessary.
FAQs
Do all wounds need cleaning?
No, minor cuts and scrapes can be cleaned at home. However, deeper wounds, puncture wounds, animal bites, and burns often require medical attention for proper cleaning and evaluation.
What soap should I use to clean a wound?
Use a mild soap, like castile soap, to gently clean the wound and surrounding area. Avoid harsh antibacterial soaps that can irritate the wound.
Should I use antibiotic ointment on every wound?
Not necessarily. Antibiotic ointments can help prevent infection in minor wounds, but overuse is not good. Use them sparingly and only on clean wounds.
Conclusion
With a little know-how and the right supplies, you can confidently tackle minor cuts and scrapes at home. Remember, cleaning a wound is all about preventing infection and promoting healing.
But of course, if you’re ever unsure or the wound seems serious, don’t hesitate to seek professional medical attention.