How to Organize First Aid Kit: A Step-by-Step Guide
Cuts, scrapes, and surprise allergies are a common occurrence. Being prepared for these minor emergencies is essential, and that’s where a well-organized first-aid kit comes in.
This guide will walk you through everything you need to know, from gathering the right supplies to keeping your kit in top shape. Let’s turn your first-aid kit into a hero for everyday bumps and bruises!
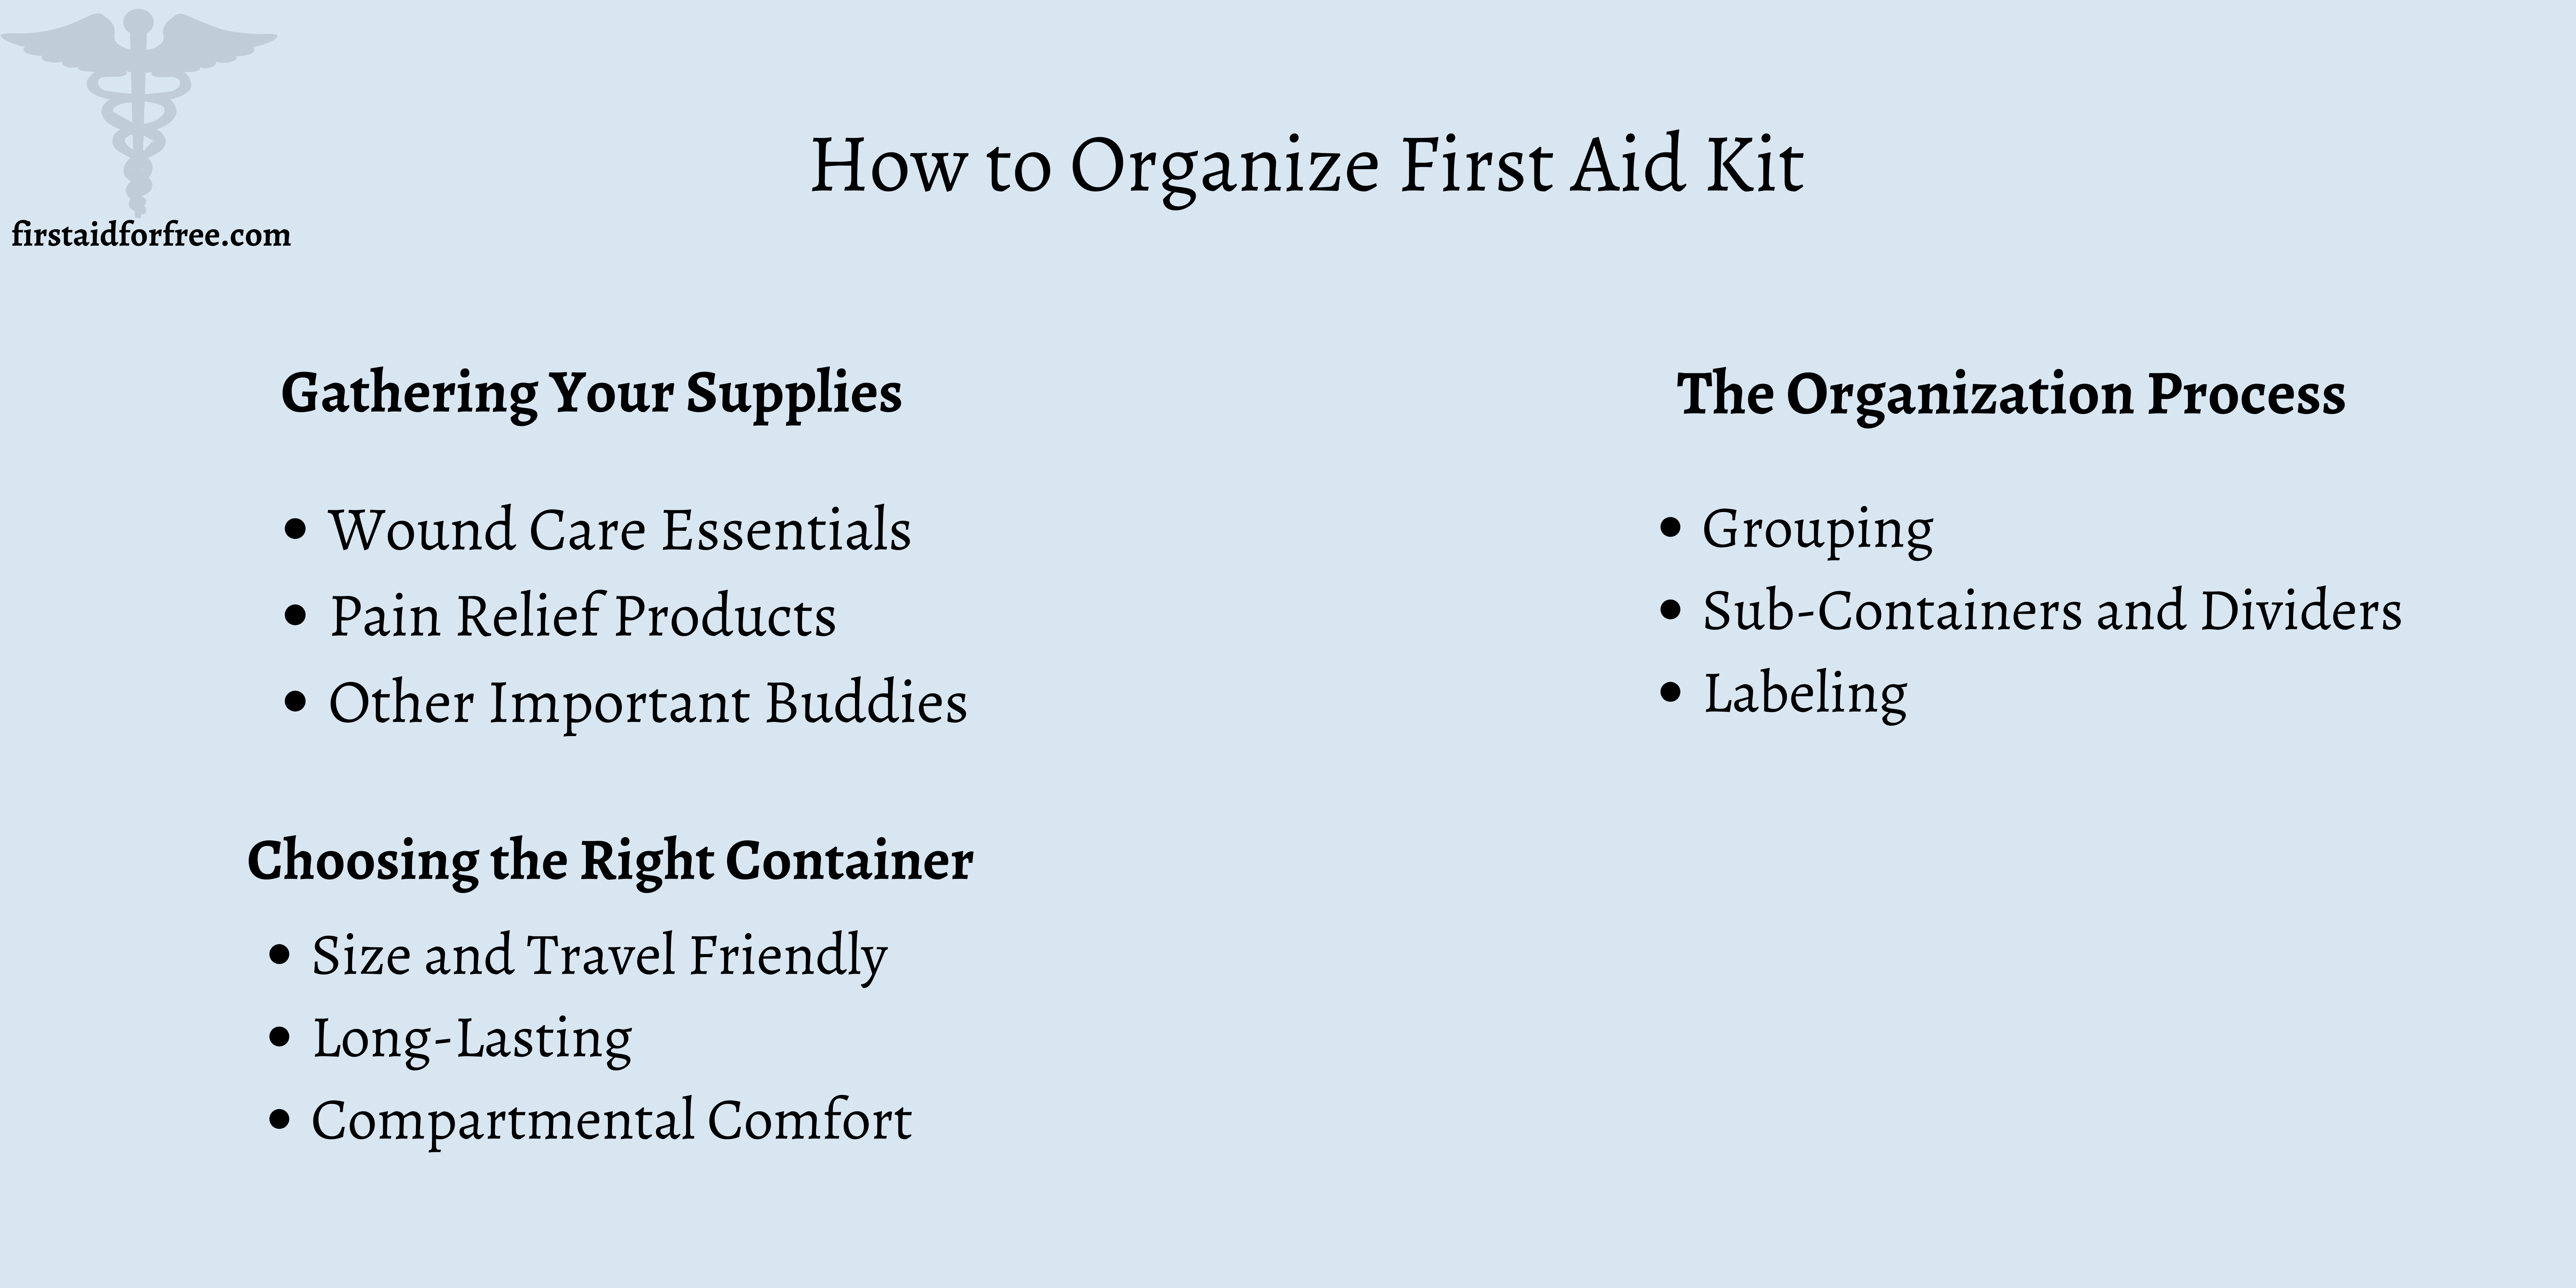
1. Gathering Your Supplies
Without supplies, there’s no first aid kit. To build this helpful toolbox, we’ll need to gather all the necessary supplies. Things to include:
- Wound Care Essentials: These items tackle cuts, scrapes, and other boo-boos. Stock adhesive bandages in various sizes, gauze pads for larger wounds, and medical tape to secure everything in place.
Don’t forget antiseptic wipes to clean wounds and antibiotic ointment to prevent infection.
- Pain Relief Products: This group is here to soothe aches and pains. Include over-the-counter pain relievers like ibuprofen or acetaminophen (remember, adult and child dosages if needed). Antihistamines can also come in handy for allergic reactions.
- Other Important Buddies: These all-rounders are available for various situations. A good pair of scissors and tweezers can help remove splinters or ticks. A thermometer helps check for fevers, while an instant cold compress can soothe sprains or bumps.
An emergency blanket can keep someone warm in unexpected situations, and non-latex gloves are important for hygiene when dealing with wounds.
Customizing Your Kit
This is where you can personalize your first-aid kit based on your specific needs. If someone in your family has asthma and needs an inhaler readily available, add it to the list.
Do allergies plague you? Include some allergy medication for those itchy eyes or runny noses. Also, consider adding insect repellent or sting relief medication to your kit.
2. Choosing the Right Container
Now that you’ve gathered your first-aid supplies, they need a good place! The container you choose will depend on where you plan to keep your kit and how often you’ll need to use it. Things you need to consider:
- Size and Travel Friendly: A large, hard plastic case might be great for home storage, but it might be bulky to carry around. Consider a smaller, lightweight case or bag if you need a portable kit for the car or travel.
- Long-Lasting: Your container should be sturdy enough to withstand everyday bumps and bruises. Opt for a hard plastic case for ultimate protection or a fabric bag with strong stitching for a more portable option.
- Compartmental Comfort: Rummaging through your kit in a stressful moment is not ideal! Look for a container with compartments or dividers to keep your supplies organized. This way, you can find what you need quickly and easily.
3. The Organization Process
We’ve got the supplies, we’ve got the container, but now it’s time to make everything neat and easy to find. Here’s how to organize your first-aid kit like a pro:
- Grouping: Remember those first-aid supplies we assembled earlier? Now’s the time to create their own little units within the kit.
First, think about how you might use the supplies and group them based on function.
For example, gather all your wound care supplies: bandages in various sizes, gauze pads, adhesive tape, antiseptic wipes, and antibiotic ointment, and put them together in one compartment.
This way, if someone gets a scrape, you can quickly grab the “Wound Care Items” without wasting time searching.
Repeat this for other categories like pain relievers and other essential items. - Sub-Containers and Dividers: You might have built-in compartments or dividers depending on your chosen container. Use these to your advantage and keep each group of supplies separated.
If your container is a simple box or bag, consider using smaller pouches or zip-lock bags to create your own compartments. This extra step will make a big difference when you need to find something specific quickly. - Labeling: Once everything’s grouped and compartmentalized, it’s time for labeling. Clear labels are necessary, even for first aid kits, just like your spices in the kitchen.
Use permanent markers and write clearly what’s in each section or pouch.
For example, label a compartment “Wound Care” or a pouch “Pain Relief.” Label individual items within a section, especially if you have different types (like different-sized bandages).
This might feel like extra work, but trust us, in the heat of the moment, you’ll be glad you can grab the exact size bandage you need without searching.
4. Maintaining Your First-Aid Kit
Here’s how to keep your first aid kit stocked and ready:
Inventory Checkup: It’s frustrating when you reach for an ointment in a crucial situation and find it’s expired.
This is the reason why you should schedule regular checkups for your first-aid kit, like every 6 months.
It’s like a mini medical checkup for your supplies. Check for:
- Expiration Dates: Carefully examine all medications, ointments, antiseptic wipes, and other perishable items for expiration dates. Expired items can be ineffective or even harmful, so toss them out!
- Quantity Check: Take stock of everything in your kit. Are you running low on bandages? Is the cold compress still functional? Refill or replace anything that’s missing or nearing depletion.
- Damage Patrol: Look for any damaged items that might be compromised. Maybe a pair of tweezers got bent, or a container cracked. Replace anything that’s not in good condition.
Replacing the Fallen: After your checkup, or even after using something from the kit, it’s time to restock! This might mean refilling missing bandages, grabbing a new bottle of pain relievers, or replacing any other supplies that have subsided. Keeping your kit stocked ensures you’re prepared for any situation. Here are some tips for restocking:
- Buy in Bulk: Consider buying some frequently used items in larger quantities (like bandages) to save money on future restocks. But be mindful of expiration dates. Don’t buy so much that things expire before you can use them!
- Take Advantage of Sales: Look for sales on first-aid supplies and stock up when you find good deals.
- Note Down What You Use: After using something from the kit, jot down a quick note to remind yourself to replace it during your next restock session.
By following these simple maintenance steps, you can ensure your first-aid kit is always ready to handle minor emergencies and keep your loved ones safe.
Additional Tips for Optimal First-Aid Kit
A few bonus tips to have an all-ready first-aid kit:
- Emergency Contact Info: Include a laminated card with important phone numbers inside your kit, like emergency services and poison control.
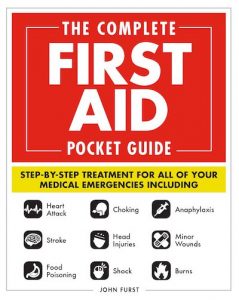
- First-Aid Guide: Stash a small booklet or printout with basic first-aid instructions in your kit. This can be a lifesaver for minor injuries.
Consider a First-Aid Course: While a well-stocked kit is great, basic first-aid knowledge can really make a difference. To boost your knowledge and preparedness, consider taking a first-aid course.
FAQs
What’s the most important thing in a first-aid kit?
Having the right supplies for common injuries, like bandages, antiseptic wipes, and pain relievers.
Do I need a fancy container?
No! A simple box or bag works fine as long as you can keep things organized.
How often should I check my first-aid kit?
Within every 6 months or so. It’s a good time gap to replace expired items and restock what’s missing.
Conclusion
With a well-organized first-aid kit by your side, you can face everyday bumps with confidence. Remember, a prepared kit is a stress-buster, and a little planning goes a long way.
We hope this article was helpful!